Menu
FAQ: Can you replace the batteries on a Minelab Equinox Metal Detector? - YES!
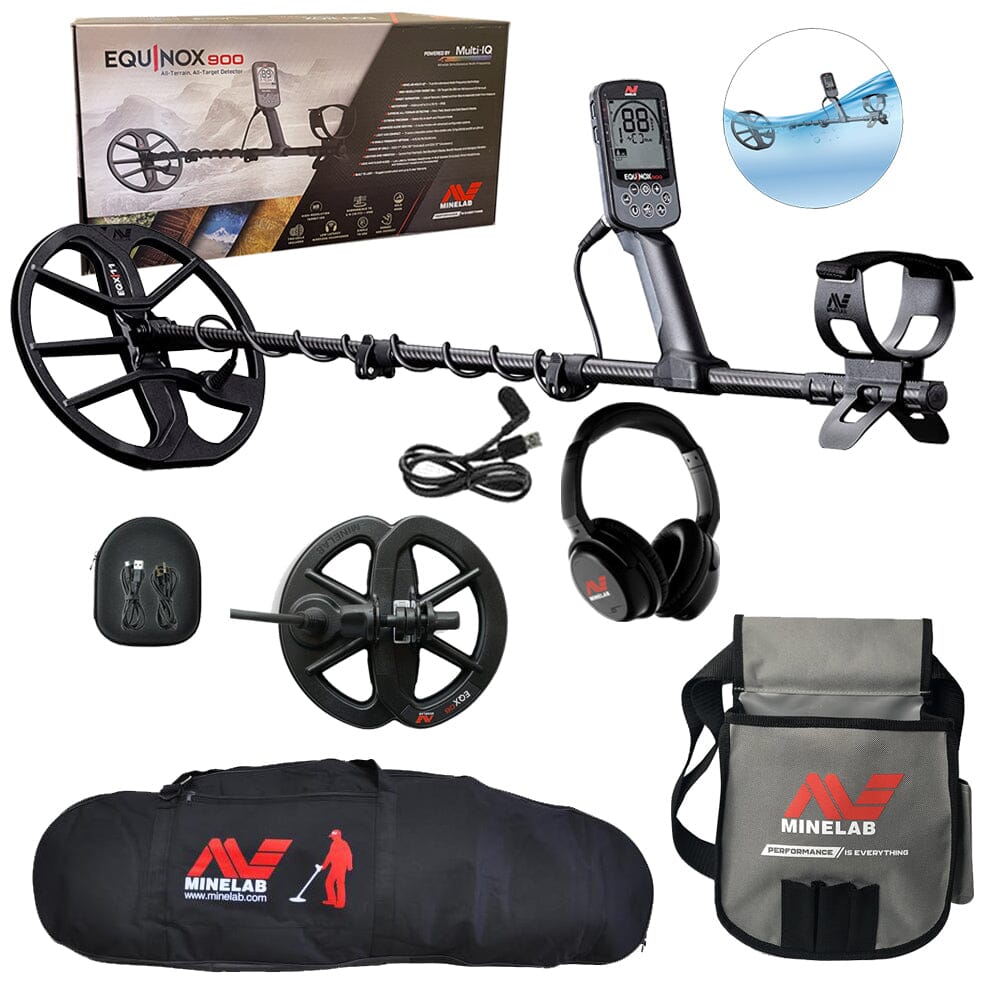
Yes! You can replace the rechargeable batteries in your Minelab Equinox Metal Detector!
I know I kind of gave away the answer to this FAQ in the heading but there is more to it than that. For years, when a customer had a battery issue with their Minelab Equinox 600 or Equinox 800 metal detectors, the response was to contact the manufacturer. When your metal detector is under warranty, this is sometimes the smarter route. With Minelab's 3-year warranty, any issues during that period are typically, and usually promptly, taken care of. But, what if your metal detector is out of its warranty period?
Sure, Minelab's support definitely extends beyond 3 years. But, repairs after the warranty ends will often incur a charge. Plus, there is that valuable detecting time that you might miss by having to ship your detector off for repair. Now, that has all changed.
Minelab now offers it's Lithium-Ion battery for sale so you can replace the battery on your own. It is important to note some of their disclosures within the instructions. The most important is, "All Minelab Authorised Service Centres can perform the internal battery replacement if you prefer to have the work performed without possibility of voiding your Control Panel warranty." If your metal detector is still covered by its warranty, your best bet is to send it in for repair. Most likely the repair or replacement costs during this period will be covered by the warranty.
However, after the warranty period, you may be better off replacing it your Equinox battery yourself. The good news is changing your Equinox battery isn't really that hard.
How to replace the battery in your Minelab Equinox Series metal detector.
First: It is VERY important that you follow the instructions replacing your Equinox battery exactly as directed. Not doing so may result in failure of the control box and ruin your metal detector. If you are not comfortable doing this perfectly, you are probably better off contacting an Authorized Service Center to assist with the replacement.
Next: Make sure you have all the right tools and parts.
Tools
- Hex Driver 3mm (H3)
- Hex Driver 2mm (H2)
- Needle Nose Pliers
- Silicone Grease
Parts
- 3011-0405 (this is the battery for the Equinox)
Step One - Access the Battery Compartment
You will first need to remove the control box of the metal detector. The battery of the Equinox metal detectors is located in the handle. (1) Using the 3mm Hex Driver(H3), remove the four screws on the bottom where the handle bolts onto the shaft to separate the control box from the upper stem.

(2) Next, using the 2mm Hex Driver (H2), remove the tiny screw that holds the cap on the battery compartment in place. (3) Then, with your thumb resting on the top of the compartment cap, gently pull the cap (which will have the battery nestled in it) out of the control box using needle nose pliers by gripping the extraction pin. Make sure to do this slow and steady use your thumb to prevent it from coming out too quickly. Never force it out or pull it out too quickly....it is connected.
Step Two - Remove the Battery
Slowly ease the cap (3) and battery out of the control box handle until the wiring loom connector (5) is presented.
Do not extract the wiring harness connector beyond the entrance of the battery compartment. This may cause irreparable damage to the control box.
Hold the wiring connector (5) firmly with your finger and thumb, release the battery by pushing the latch (6) and disconnect the battery from the internal wiring harness.
Separate the battery compartment cap assembly (3) from the battery (7) by firmly pulling the two apart.

Step 3 - Prepare New Battery for Installation
Next, inspect the battery assembly. You will notice two O-rings present on the cap portion of the assembly. Confirm these are in good shape and free from dirt and debris. You will also notice a small "gore" vent (8) in the cap. Make sure it is in good shape and undamaged. Do not touch or tamper with the cap assembly or vent.
Next, Affix the foam disc (9) to the bottom of the new replacement battery and push the battery into the cap and push the battery into the cap (3) ensuring the black stripe/guide mark (10) is aligned with the notch (11) of the cap.
Your battery came with a small 20mm (approximately 3/4") piece of foam tape (12). Attach this to the battery leaving approximately 5mm (about 1/5") space from the end of the battery that has the wires and is center-aligned with the tab on the battery compartment cap (13).

Step 4 - Replacement Battery Installation
Put a light coat of silicone O-ring grease onto the O-rings in the battery compartment cap. This will help deter water and debris from entering the compartment and extend the life of the O-rings.
Connect the battery cable to the control box wiring cable ensuring that the white connector is not forcibly extended beyond the entrance of the battery compartment.
Gently slide the battery assembly into the control box handle with the tab (13) of the cap aligned to the slot (14) on the control box handle. It should easily enter the handle without resistance. The final 5mm of insertion may require slight additional force. It is VERY IMPORTANT that the cap is position symmetrical to the handle. If it is not symmetrical it may lead to water leakage.
Secure cap with the tiny screw you initially removed (2) using the 2mm hex driver. First, tighten it by hand taking care not to strip the threads. Torque should not exceed 0.5 Nm. Ensure the cap does not move when tightening the screw and that the cap is still positioned symmetrical into the handle when tight.

Step 5 - Reassembly
Reassemble the control box to the upper arm stem by reinstalling the 4 screws (1) you initially removed from the lower piece using a 3mm hex wrench. Torque should not exceed 1.0 Nm
To read the official version of these instructions please CLICK HERE.
Check out this video by Minelab showing you the entire process in just over two minutes.
You Might Be Interested In

Coin & Relic Cleaning Supplies
Pair text with an image to focus on your chosen product, collection, or blog post. Add details on availability, style, or even provide a review.
- Choosing a selection results in a full page refresh.


